Windows 10 is slowly moving away from the Control Panel to the new Settings app. In the new Settings app you can easily check for new updates by navigating to “Update and Security -> Windows Update” and then clicking on the “Check for Updates” button. However, you can make it even easier by adding this specific option to the Desktop context menu.
Just as a precaution, it is always a good idea to back up Windows Registry and create a restore point. If anything bad happens, you can easily restore your system by restoring the backup or the restore point.
Add Check for Updates Option to Desktop Context Menu
Like many things, you need to modify the Windows Registry to add the “Check for Updates” option to the Desktop context menu. To start, press “Win + R,” type regedit and press the Enter button. Alternatively, you can also search for it in the Start menu.

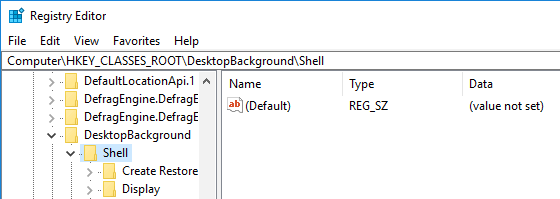
The above action will open Windows Registry. Here, copy the below path, paste it in the Registry Editor’s address bar and press the Enter button.
HKEY_CLASSES_ROOTDesktopBackgroundShell
As soon as you press the Enter button, you will be taken to the key you need to edit.
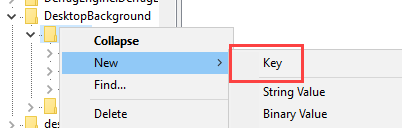
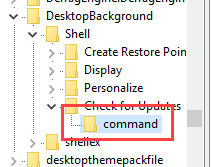
Now we need to create a couple of keys. Right-click on the “Shell” key and select the option “New” and then “Key.”
Name the new key as “Check for Updates” and press the Enter button. This is the name that appears in the desktop context menu. You can customize it to meet your needs.

Again, right-click on the newly created key and select “New -> Key.”
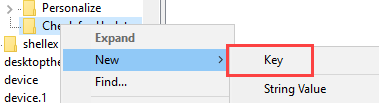
Name the new key as “command” and press the Enter button to set the name.
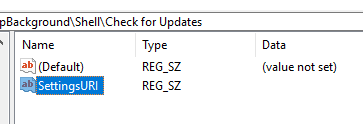
After creating the keys, we need to point them to the update option in the Windows 10 Settings app. We can do that using a specific URI. To do that, make sure that the “Check for Updates” key is selected and then select the option “New -> String Value” from the right-click context menu in the right panel.

Name the new String Value as “SettingsURI” and press Enter.
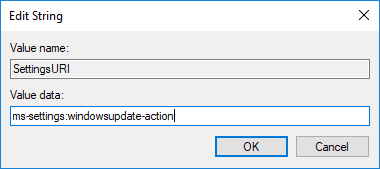
Double-click on the newly created value to open the “Edit Value” window. Enter ms-settings:windowsupdate-action in the “Value Data” field and click on the “OK” button to save the changes.
Now, select the “command” key appearing in the left pane, right-click on the right panel and select the option “New -> String Value.”
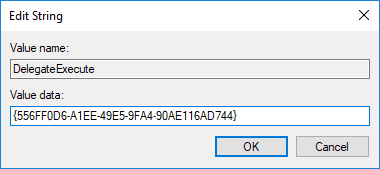
Name the new String value as “DelegateExecute” and press Enter to save the changes.

To change the value data, double-click on the newly created value, enter the below value in the blank field and click on the “OK” button to save the changes.
{556FF0D6-A1EE-49E5-9FA4-90AE116AD744}
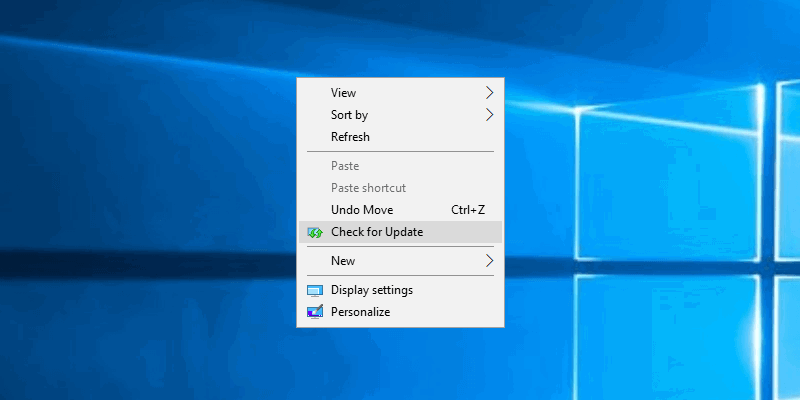
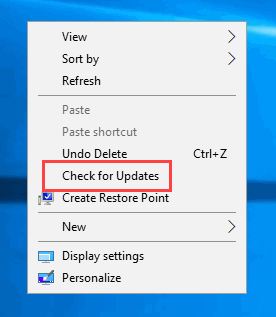
As soon as you are done with the above changes, you will see a new option, “Check for Updates,” added to the desktop context menu. Restart the system if you don’t see the new option. Selecting the option will automatically open the Settings app and trigger the “Check for Updates” option.
This step is completely optional, but you can make the desktop context menu listing a bit nicer by adding an icon to it. To add the icon, select the “Check for Updates” key, right-click on the right panel and select the option “New -> String Value.”
Name the new String value “Icon.”
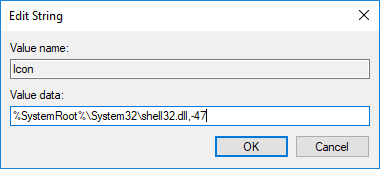
Double-click on the value, enter the following path in the Value Data field and click on the “OK” button to save the changes.
%SystemRoot%System32shell32.dll,-47
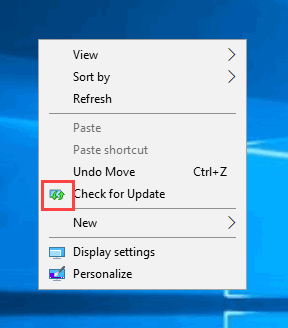
That’s all there is to do. You will see a nice icon right before “Check for Updates” option in the desktop context menu.
Do comment below sharing your thoughts and experiences about using the above method to add the “Check for Updates” option to the desktop context menu.

Vamsi is a tech and WordPress geek who enjoys writing how-to guides and messing with his computer and software in general. When not writing for MTE, he writes for he shares tips, tricks, and lifehacks on his own blog Stugon.
Subscribe to our newsletter!
Our latest tutorials delivered straight to your inbox
Sign up for all newsletters.
By signing up, you agree to our Privacy Policy and European users agree to the data transfer policy. We will not share your data and you can unsubscribe at any time. Subscribe