In Windows you can easily create a new shortcut for any of your programs, folders and files directly from the right-click context menu or by simply dragging and dropping them using the “Alt” key on your keyboard. When you create a shortcut, to easily differentiate it from other files and folders, Windows displays a small arrow icon on top of the actual program or file icon. Of course, you won’t see this arrow icon if you create a shortcut using the “Create Shortcut” option in the right-click menu. By default, Windows doesn’t provide any option to either customize or remove the shortcut icon from the shortcuts.
So, if you are like me and don’t like the default arrow icon, here is how you can either customize or remove it entirely if you wish.
Note: though I’m showing this in Windows 7, the steps are similar for Windows 8.1 and 10.
Change Arrow Icon Size on the Shortcut
Though it may not look pretty, you can certainly change the size of the shortcut arrow icon using the Registry editor. This is helpful if you want to clearly distinguish between shortcuts and actual files.
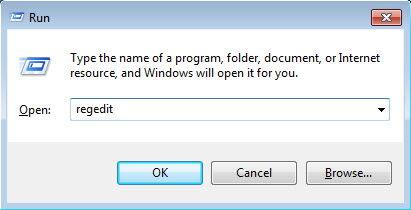
To start press “Win + R,” type regedit and press the Enter button to open the Windows Registry Editor.
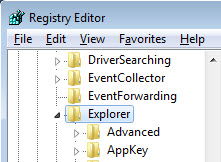
Here in the Registry Editor navigate to the following key:
HKEY_LOCAL_MACHINESOFTWAREMicrosoftWindowsCurrentVersionExplorer
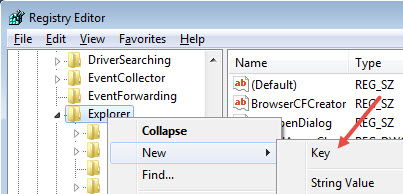
We need to create a new key. To do that right-click on the “Explorer”key, select the option “New” and then “Key.”
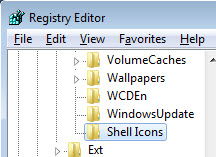
Name the new sub-key “Shell Icons” and press the Enter button.
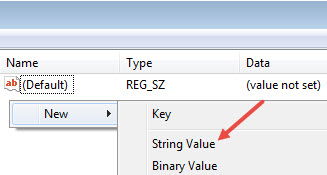
After creating the key, right-click on the right panel and select the option”New” and then “String Value.”
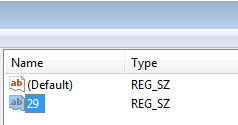
The above action will create a new String value. Name the new value “29.”
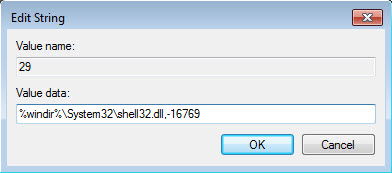
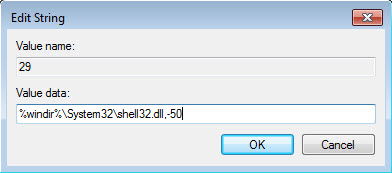
Now, double-click on the new value, enter the value data as the following, and click on the “OK” button to save the changes.
%windir%System32shell32.dll,-16769
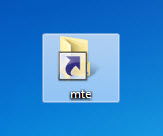
Once you are done, restart your system, and you will see a big shortcut arrow icon rather than a small one.
If you ever want to revert back, simply delete the newly created value.
Remove Arrow Icon from Shortcuts
Just like you can modify the icon size, you can also remove it entirely for a cleaner look. To do that follow all the above steps until you create the new String value and name it “29.”
Now, double-click on it, enter the following value data and click on the “OK” button to save the changes:
%windir%System32shell32.dll,-5
Just restart your system, and you’ll no longer see the arrow icon on your shortcuts.
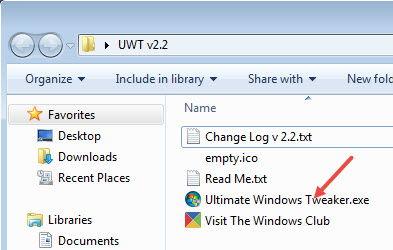
That being said, if you just want to remove the arrow icon from the shortcuts and don’t want to mess with the registry entries, you can use a free and portable software called Ultimate Windows Tweaker.
Head over to the official site and download it. Once downloaded, extract the contents onto your desktop and execute the EXE file.
Note: there are different versions of this application for Windows 7, 8.1 and 10. Download the version that is designed for your specific Windows version. In my case I’m downloading version 2.2 which is designed for Windows 7.
Once the application has been opened, navigate to the “Additional Tweaks” section in the left panel and then select the “Remove arrows from the shortcut icons” checkbox. After selecting, click on the “Apply” button to save the changes.
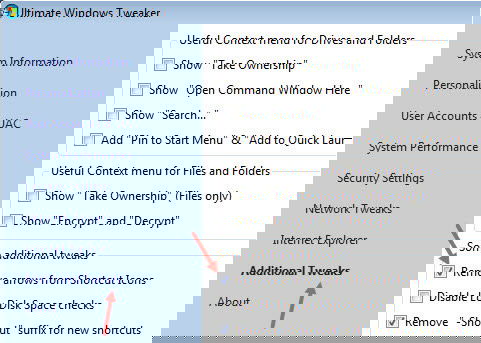
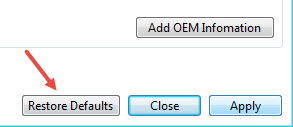
Restart your system, and you won’t see the arrow icon on the shortcuts. If you ever want to revert back, deselect the checkbox or simply click on the “Restore Defaults” button appearing on the bottom-right corner which resets all the settings that are changed using this app.
Do comment below sharing your thoughts and experiences about using the above methods to change or remove the arrow icon from the shortcut in Windows.

Vamsi is a tech and WordPress geek who enjoys writing how-to guides and messing with his computer and software in general. When not writing for MTE, he writes for he shares tips, tricks, and lifehacks on his own blog Stugon.
Subscribe to our newsletter!
Our latest tutorials delivered straight to your inbox
Sign up for all newsletters.
By signing up, you agree to our Privacy Policy and European users agree to the data transfer policy. We will not share your data and you can unsubscribe at any time. Subscribe